1. Make the machine safe first
Park on firm, level ground, lower the bucket and blade to the ground, stop the engine and release hydraulic pressure as the operator’s manual describes before you touch any hose or fitting. Never feel for a leak with your hand: a pinhole jet of hydraulic oil can pierce skin and needs emergency treatment. Work from the manual for your exact model and serial number — settings differ between versions of the same machine.
2. Check the simple causes before the expensive ones
Many faults on a newly bought or newly delivered machine have simple causes: low or wrong-grade hydraulic oil, blocked filters, loose or corroded battery terminals, water in the fuel or air in the fuel lines after a long sea voyage. Check every fluid level and filter, clean the connectors and write down exactly when the problem happens — cold or warm, one function or all of them. A precise description saves hours of paid diagnosis.
3. Slow or weak hydraulics
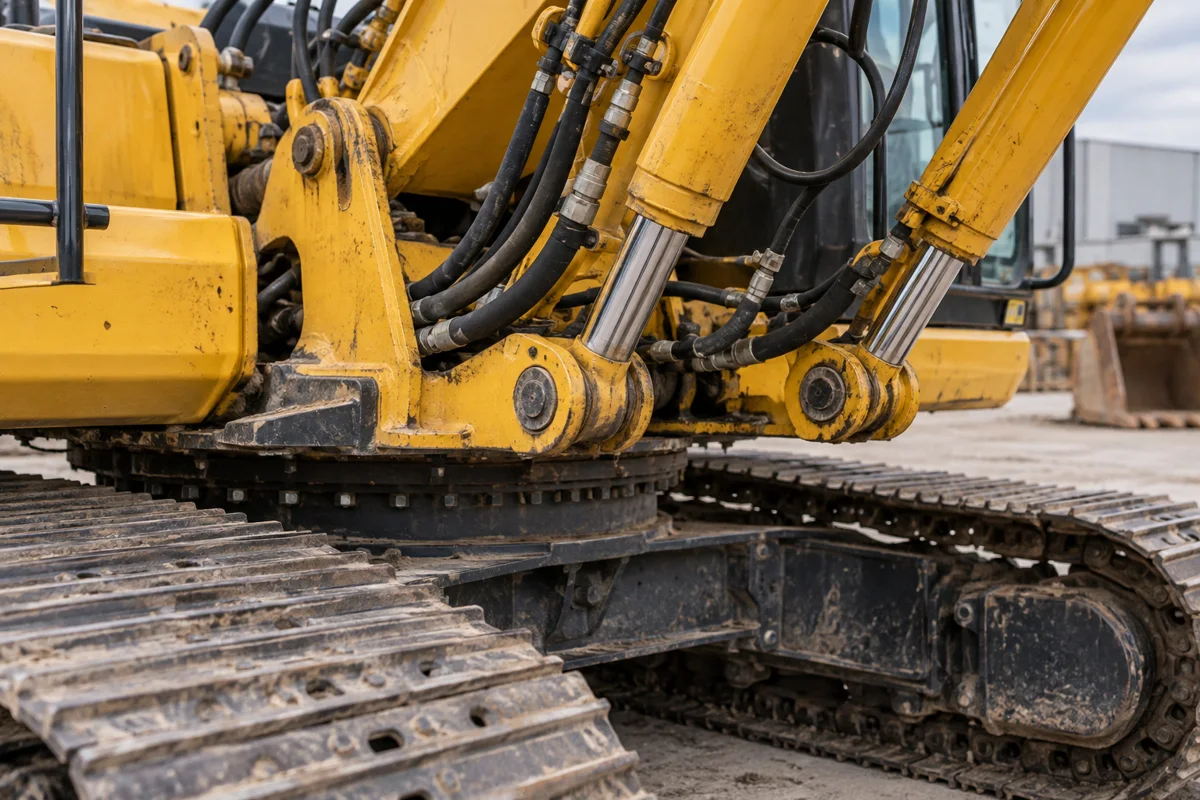
If the boom, arm or bucket is slow, drifts down or has little digging force, start with the oil: level, colour and smell. Milky oil suggests water; dark oil with a burnt smell suggests overheating. Replace the return, suction and pilot filters if their condition is unknown, and look for leaks at cylinder seals and hose ends. If every function is weak, the pump or main relief setting is a likely cause; if only one function is weak, look at that circuit’s valve, seals or cylinder. Pressure testing needs gauges and the service manual — leave relief-valve adjustment to a hydraulic technician, because a wrong setting can damage the pump.
4. Black smoke, low power or hard starting
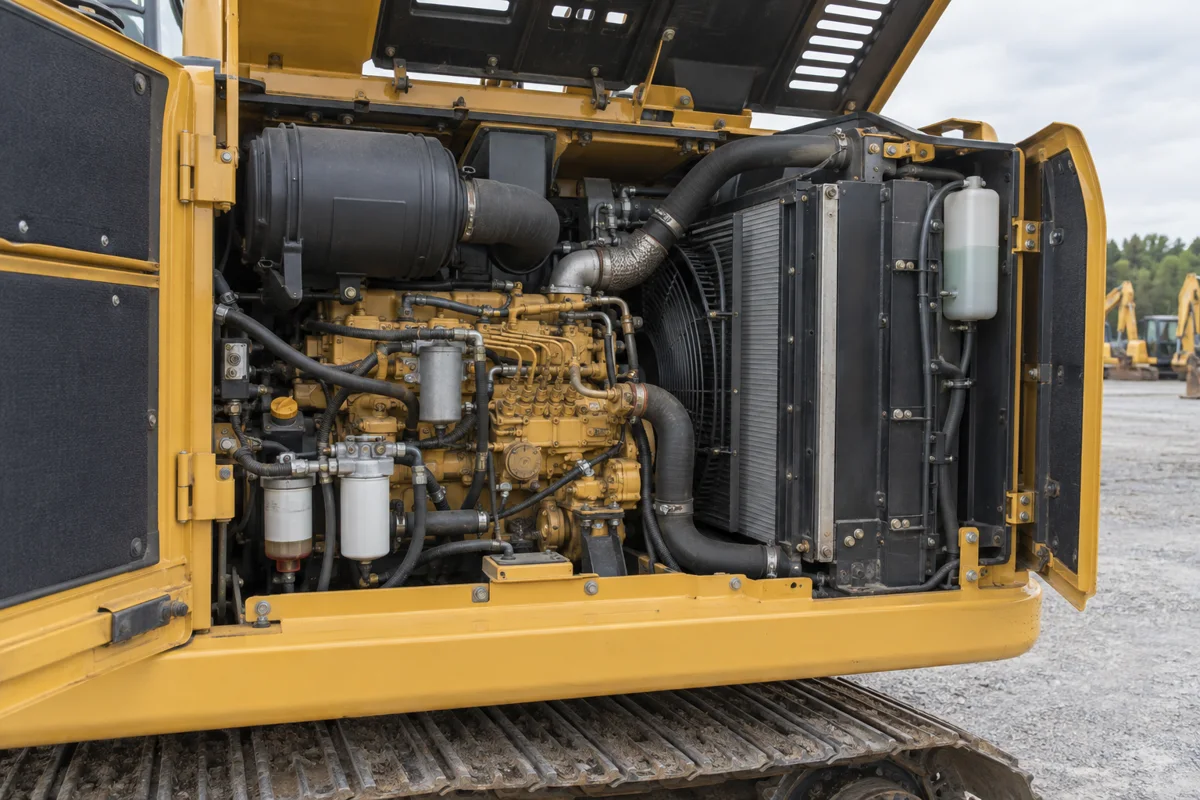
Black smoke under load often points to a blocked air filter, a restricted intake, worn injectors or a turbocharger problem. Hard starting is commonly caused by water in the fuel, a clogged fuel filter, weak batteries or air in the fuel system: drain the water separator, replace the fuel filters and bleed the system as the manual describes. Persistent blue smoke, heavy blow-by or oil consumption point to internal engine wear, which needs compression and blow-by testing by a mechanic.
5. Overheating
On dusty sites the most common cause is simply a packed radiator, oil cooler or intercooler. Clean the fins with low-pressure air or water from the fan side, check the coolant level and the fan belt, and watch the hydraulic oil temperature as well as the engine temperature. Never open the radiator cap on a hot engine. If the machine still overheats with clean coolers, have the thermostat, water pump and head gasket checked.
6. Tracks and undercarriage
The undercarriage is often the most expensive wear area on a used excavator. Check track sag against the specification in the manual and adjust it through the grease cylinder on the track adjuster. Look for hooked sprocket teeth, flat or leaking rollers, cracked track shoes and oil around the final drives. Worn parts usually need replacing as a matched set, so price the full job before deciding.
7. Warning lights, error codes and parts
Most modern excavators show fault codes on the monitor. Photograph the code, then look it up in the service manual or send it to a dealer or technician for your brand. Check fuses, earth straps and connectors, which can corrode after sea transport. For parts, send the machine serial number, the part number and clear photos; common models such as CAT 320, Komatsu PC200 or SANY SY215 have wide genuine and aftermarket supply, including from China.
General purchasing guidance. This article is not a machine inspection report or a destination-specific customs determination.
Get a quote